Adobe Photoshop is a powerful tool for enhancing and improving the quality of your photos. Whether you’re a professional photographer or a hobbyist, Photoshop offers a wide range of tools and techniques to help you transform ordinary images into stunning works of art. In this comprehensive guide, we will walk you through a step-by-step process on how to enhance photo quality in Photoshop. These are unique, practical steps that will help you achieve impressive results.

Step 1: Import and Organize Your Photos
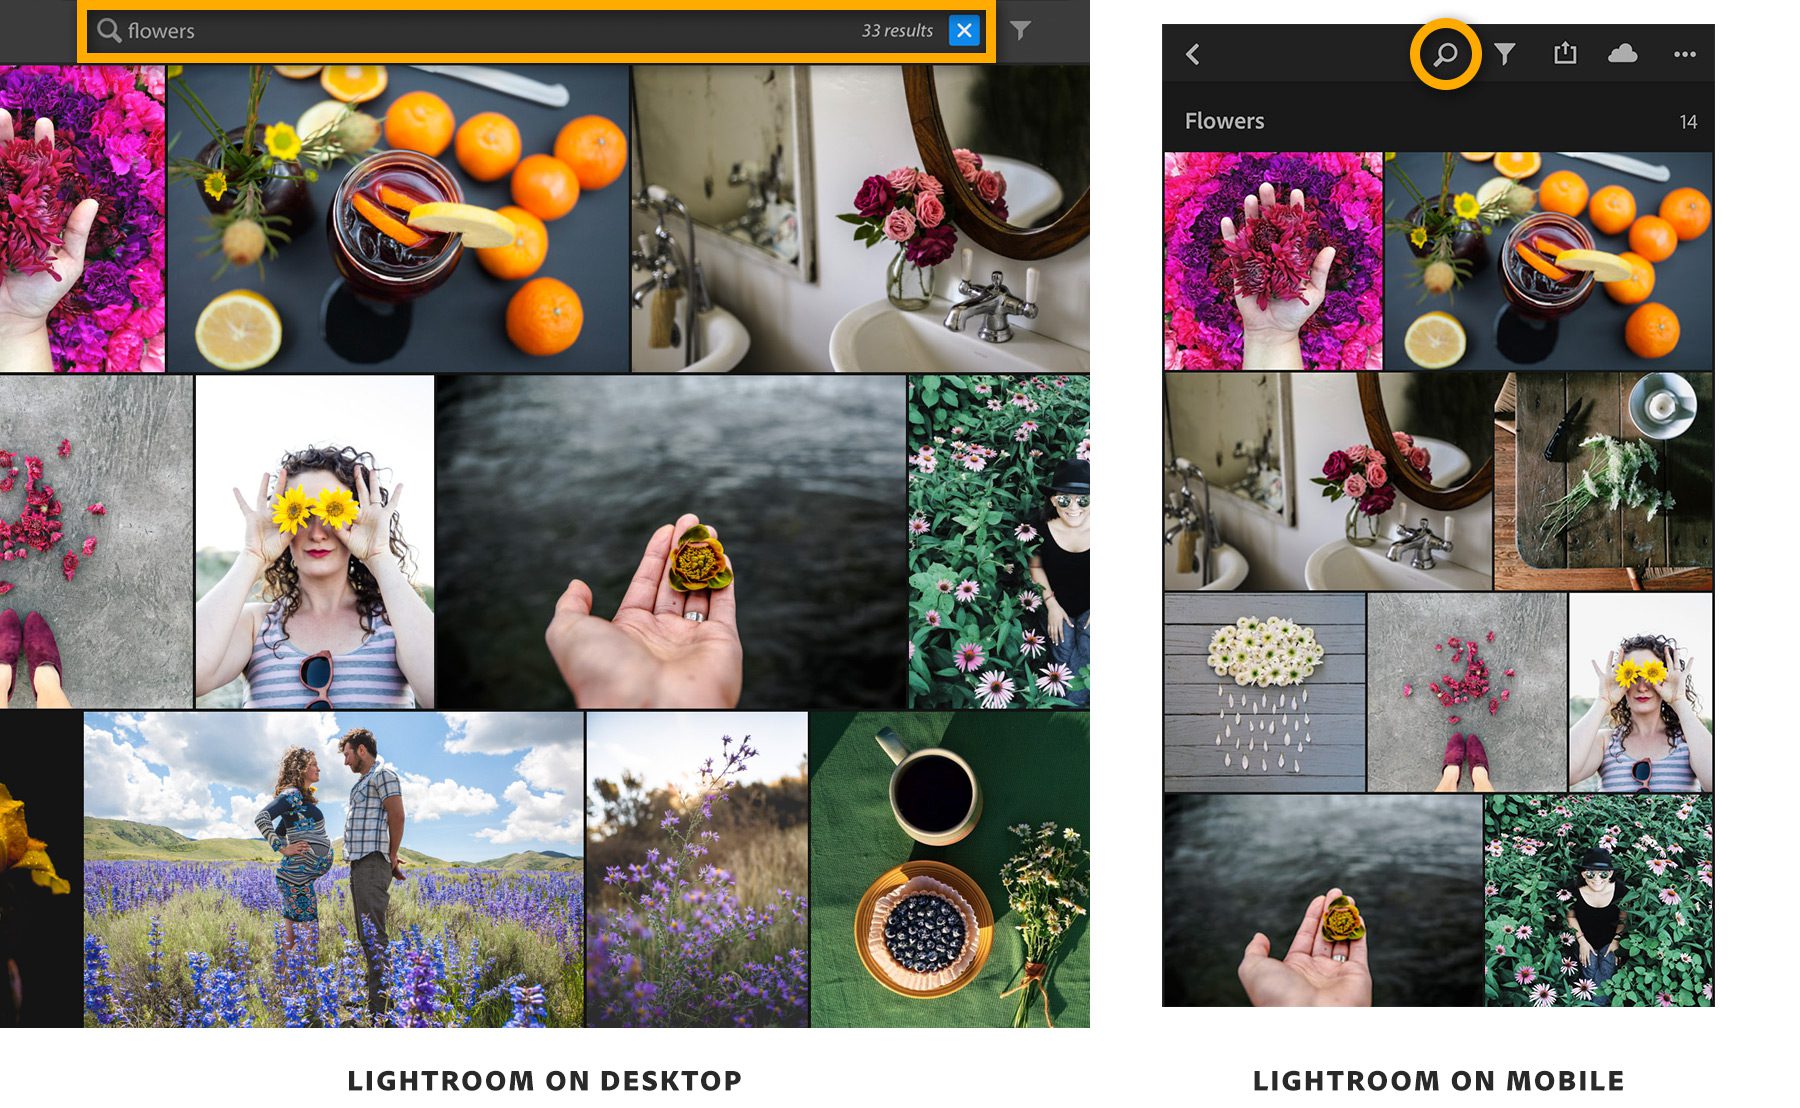
Before diving into the editing process, it’s essential to import and organize your photos in Photoshop. Create a new project folder and save your high-resolution images there to maintain quality. Use Adobe Bridge for a visual overview of your photos and organize them into subfolders for easy access.
Step 2: Image Resolution and File Format
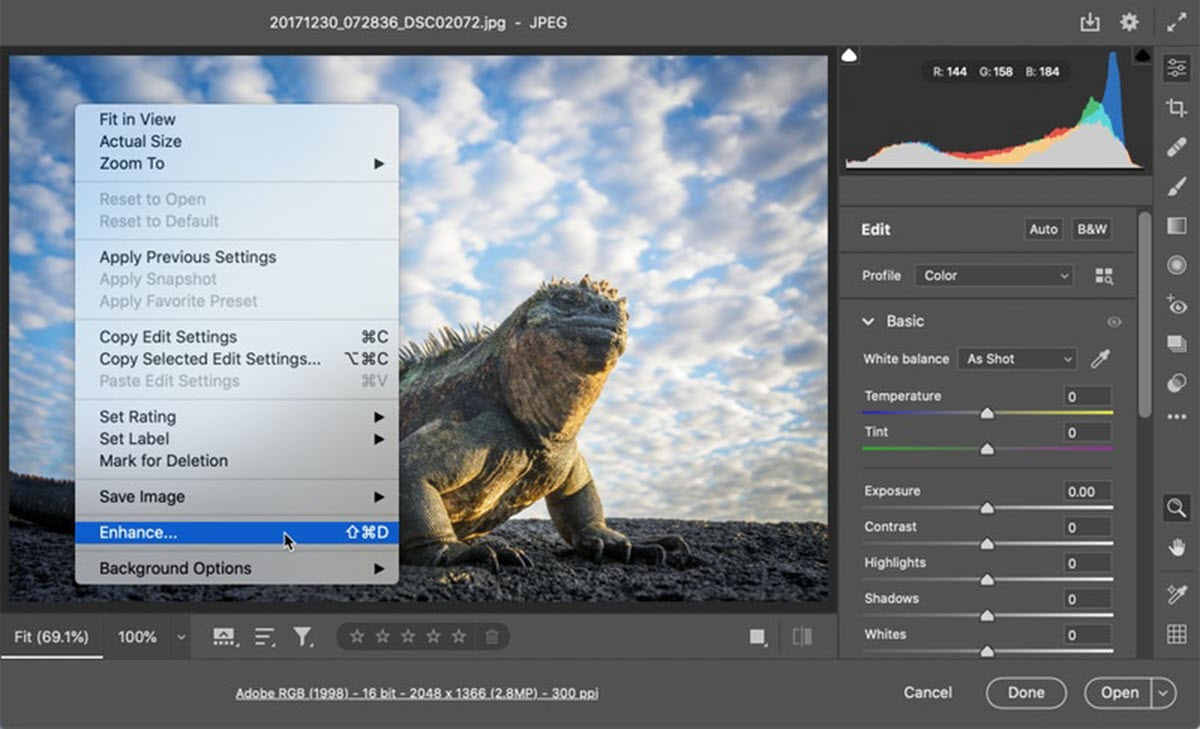
Check the resolution of your image by going to “Image” > “Image Size.” For print, aim for at least 300 DPI (dots per inch), while 72 DPI is suitable for web use. Additionally, ensure your image is in the appropriate file format. For lossless quality, use TIFF or PSD formats. For web, JPEG with minimal compression works best.
Step 3: Crop and Straighten

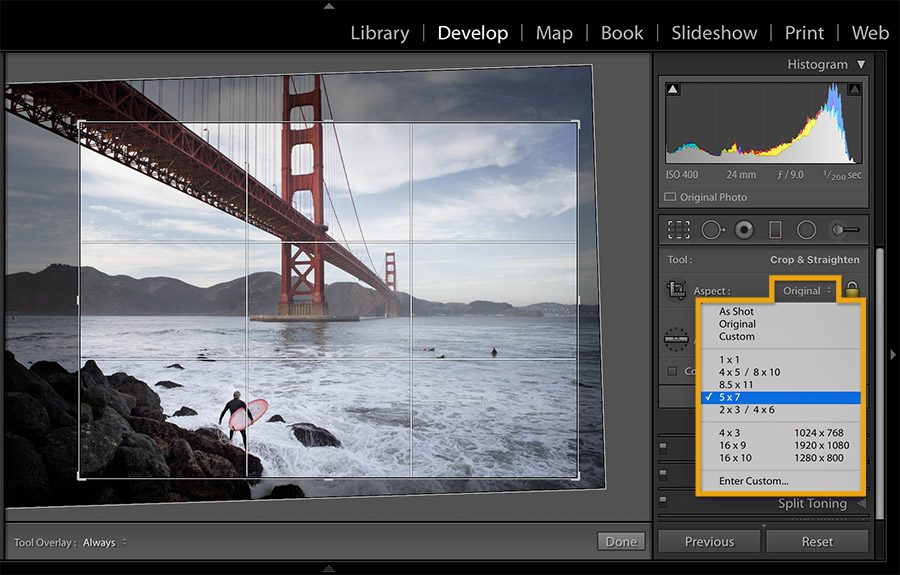
Use the Crop tool to remove distracting elements and create a more focused composition. Ensure the horizon is level in landscape shots. The Rule of Thirds can guide you in positioning the subject. The Straighten tool is useful for fixing crooked horizons.
Step 4: Adjust Brightness and Contrast
Enhance your photo’s overall tonality using the Levels or Curves adjustment layers. The Levels adjustment lets you set the black and white points, while Curves gives you more control over the tonal range. Adjust these parameters until your image has a good balance of shadows and highlights.
Step 5: Color Correction
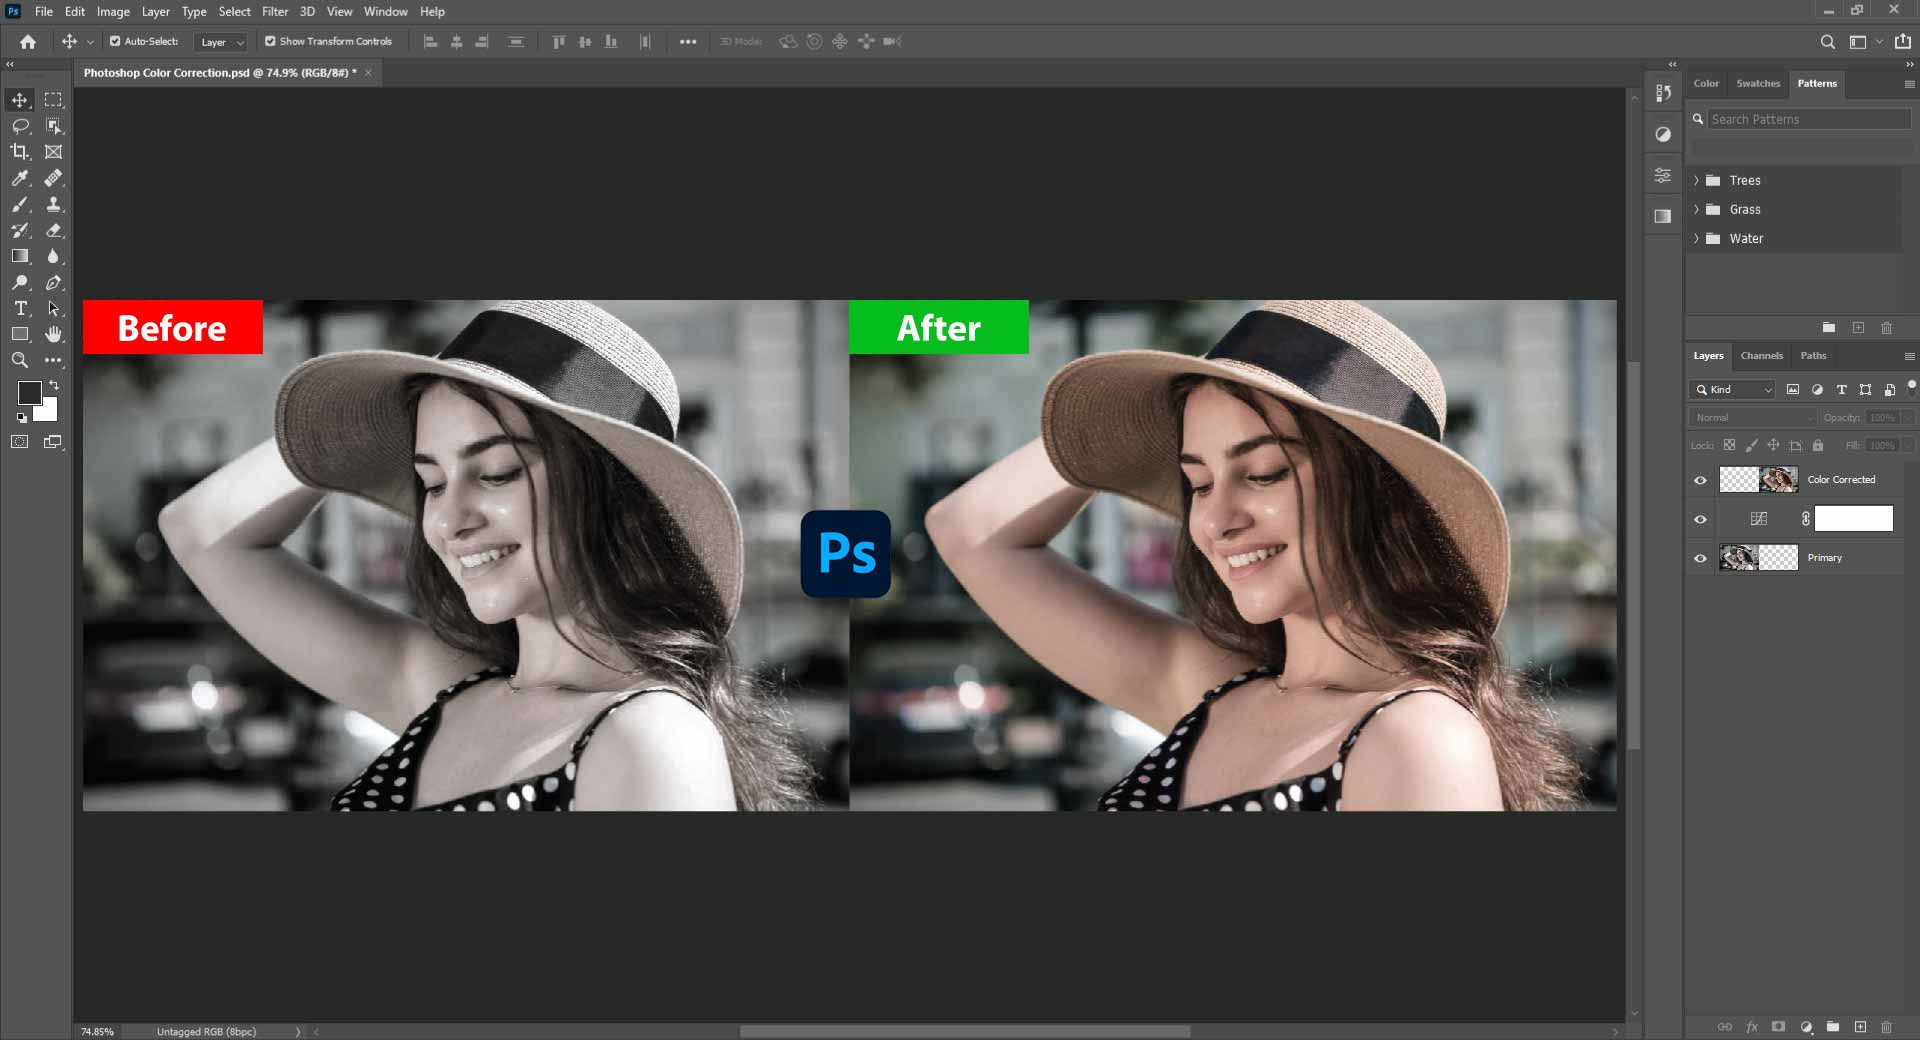
Correct color balance issues by using the Color Balance or Hue/Saturation adjustment layers. Remove color casts by adjusting the sliders until the image looks natural. Make subtle changes to maintain a realistic appearance.
Step 6: Sharpening
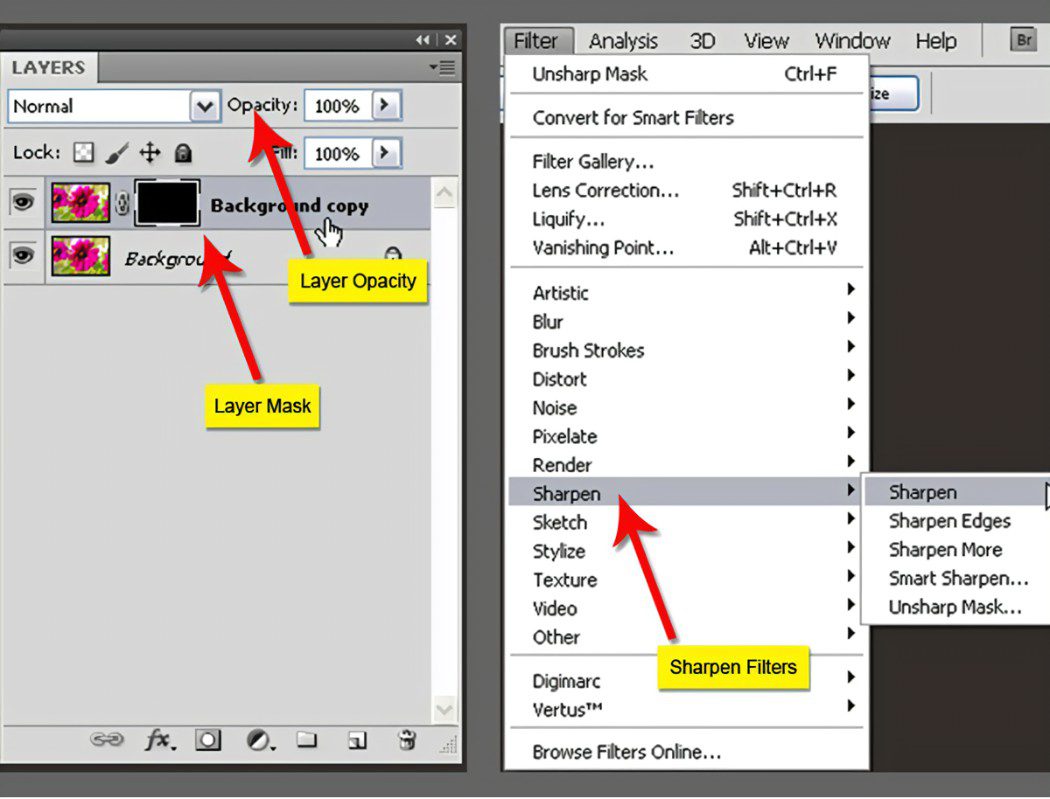
To enhance the image’s sharpness, use the Unsharp Mask filter. Create a duplicate layer (Ctrl+J), apply the filter with conservative settings (Radius: 0.5, Amount: 50%), and reduce the layer opacity for a more natural look. For portraits, use the High Pass filter with a radius of around 3-5 pixels.
Step 7: Noise Reduction
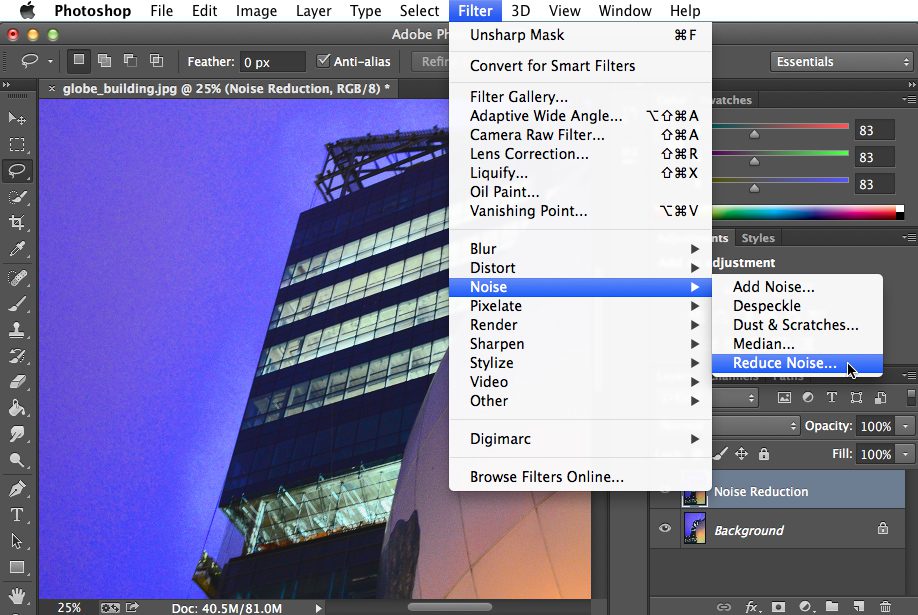
If your photo has digital noise, use the Noise Reduction filter (Filter > Noise > Reduce Noise) to minimize it. Strike a balance between noise reduction and maintaining fine details.
Step 8: Retouching and Healing
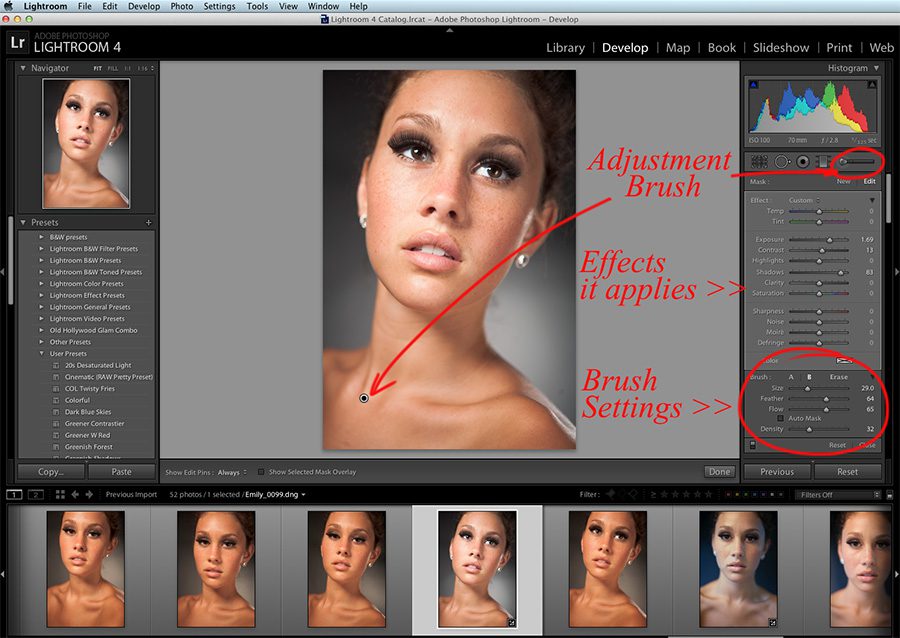
For portrait retouching, use the Clone Stamp and Healing Brush tools to remove blemishes, wrinkles, and imperfections. Be subtle to avoid an unnatural look. For object removal, the Content-Aware Fill tool works wonders.
Step 9: Dodge and Burn
Use the Dodge (lighten) and Burn (darken) tools to emphasize or de-emphasize specific areas. Dodge highlights and burn shadows to add depth and dimension. Create a new layer for non-destructive editing.
Step 10: Vignetting and Borders
To draw the viewer’s attention to the subject, apply a subtle vignette using the Radial Gradient tool. You can also add creative borders for a unique touch. Experiment with different blending modes and opacities.
Step 11: Save and Export
Once you’re satisfied with your edits, save your work in a non-destructive format (PSD) and then export the final image in the appropriate format and resolution for your intended use. Remember to rename the file to avoid overwriting the original.
Final Thought
Enhancing photo quality in Photoshop is a skill that can greatly elevate your photography. By following these unique, practical, and step-by-step instructions, you can transform your photos into stunning, professional-quality images. Remember to practice and experiment with different tools and techniques to find the right balance for each image. With dedication and creativity, you’ll master the art of photo enhancement in Photoshop.