In the age of digital photography, the desire to improve the quality of our photos is a common pursuit. Fortunately, with advancements in Artificial Intelligence (AI), it’s now easier than ever to enhance the quality of your pictures. In this step-by-step guide, we will explore practical and unique methods to enhance a photo quality using AI.
Step 1: Selecting the Right AI-Powered Tool
To start the photo enhancement process, you need to choose the right AI-powered tool. Popular choices include Adobe Photoshop, Luminar, and various online tools like Enhance AI or Topaz Gigapixel. Ensure that the tool you choose suits your specific needs and level of expertise.
Step 2: Uploading Your Photo
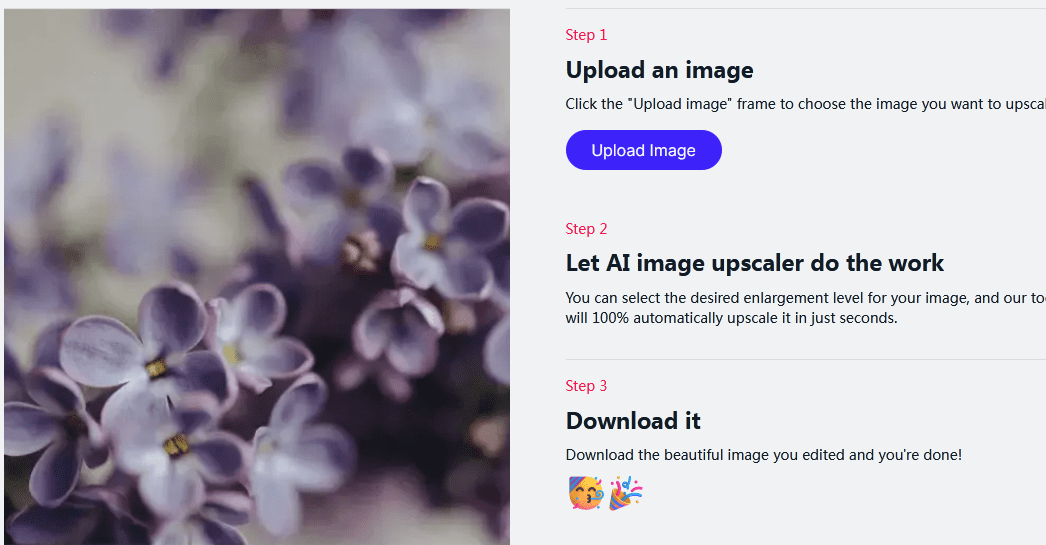
Once you’ve selected your AI tool, upload the photo you wish to enhance. Most AI-enhancing tools allow you to import images with ease, making it a user-friendly experience.
Step 3: Noise Reduction
One common issue in photos is noise, which can be caused by low light or high ISO settings. AI tools often include noise reduction features. Adjust these settings to reduce noise without sacrificing image sharpness.
Step 4: Sharpening and Detail Enhancement
Enhance the overall sharpness and detail in your photo. AI tools typically offer sliders to control the level of sharpening. Be cautious not to overdo it, as excessive sharpening can create unnatural artifacts.
Step 5: Color Correction
Correcting color balance can significantly enhance a photo’s quality. Most AI tools have features for automatic color correction, but you can also manually adjust color settings if needed.
Step 6: Exposure Adjustments
If your photo is overexposed or underexposed, use AI tools to adjust exposure levels. These tools often have automatic adjustments, but you can fine-tune them manually for better results.
Step 7: Cropping and Composition
Consider the composition of your photo. AI tools can help you crop and recompose your image for better balance and impact. Experiment with different cropping options to find the best composition.
Step 8: Portrait Enhancement
For portrait photos, AI tools can help enhance skin tones, reduce blemishes, and improve facial features. Ensure you maintain a natural look, avoiding excessive retouching.
Step 9: Background Blur
Creating a background blur, or “bokeh” effect, can make your subject stand out. AI tools can simulate this effect, especially if your original photo lacks it.
Step 10: Saving and Exporting
Once you’re satisfied with the enhancements, save your edited photo in a high-resolution format. This ensures that your improvements aren’t lost when you share or print the image.
Step 11: Compare Before and After
Always compare your enhanced photo to the original to ensure that your changes are an improvement. If the enhancements appear unnatural, consider revising your edits.
Step 12: Practice and Learn
Enhancing photo quality with AI is a skill that improves with practice. Experiment with different tools, settings, and techniques to develop your expertise.
Step 13: Ethical Considerations
Remember to use AI enhancements ethically. Avoid altering photos to mislead or deceive viewers, especially in journalistic or documentary contexts.
Final Thoughts
Enhancing photo quality with AI is a valuable skill for photographers and enthusiasts. By following these step-by-step instructions, you can elevate the quality of your photos, bringing out the best in your digital captures. Whether you’re a professional or a hobbyist, AI tools offer a powerful and accessible way to improve your photography. Practice, learn, and enjoy the journey of enhancing your visual storytelling through the magic of AI.