Old photos hold a lot of cherished memories, and everyone does their best to ensure they remain in pristine condition. However, they can crease, fade, or crack over time. With so many apps and tools available online, saving old photos has become an easy affair. If you are wondering how to enhance old photos, you can always rely on Photoshop by Adobe, a paid software with a 7-day free trial.

Photoshop is an effective and worldwide popular graphic editing tool that needs no introduction. It has been a go-to choice for both professional and amateur users when it comes to restoring and enhancing old photos for many years now.
If you want to learn how to enhance your old photos using this tool, please refer to the step-by-step guide mentioned next!
Steps to restore and enhance old photos using Photoshop
Step 1: Digitalize the old photo
Your first step should be digitalizing the old photo you want to enhance, which can be done simply by scanning the photo. Some easy options for scanning old photos include:
- Using a scanner app
- Using a regular photo scanner
- Taking a photo of it using a digital camera

Step 2: Open the image in Photoshop
Next, open the scanned photo in Photoshop and make a second copy of the image. Keep one copy for reference and work on the second copy. To do this, first, select a layer in the “Layers” panel and click on the “Duplicate Layer” option from the menu.
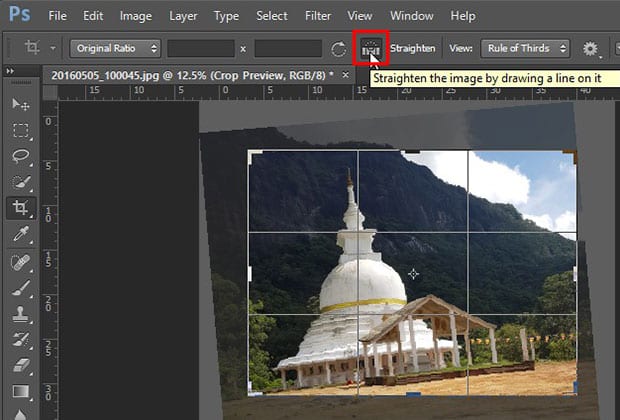
Step 3: Rotate, crop, and straighten the image
You might need to make modifications to make sure the image is to your liking and easier to edit. So, use the rotate, crop, and straightening options provided by the tool as required.
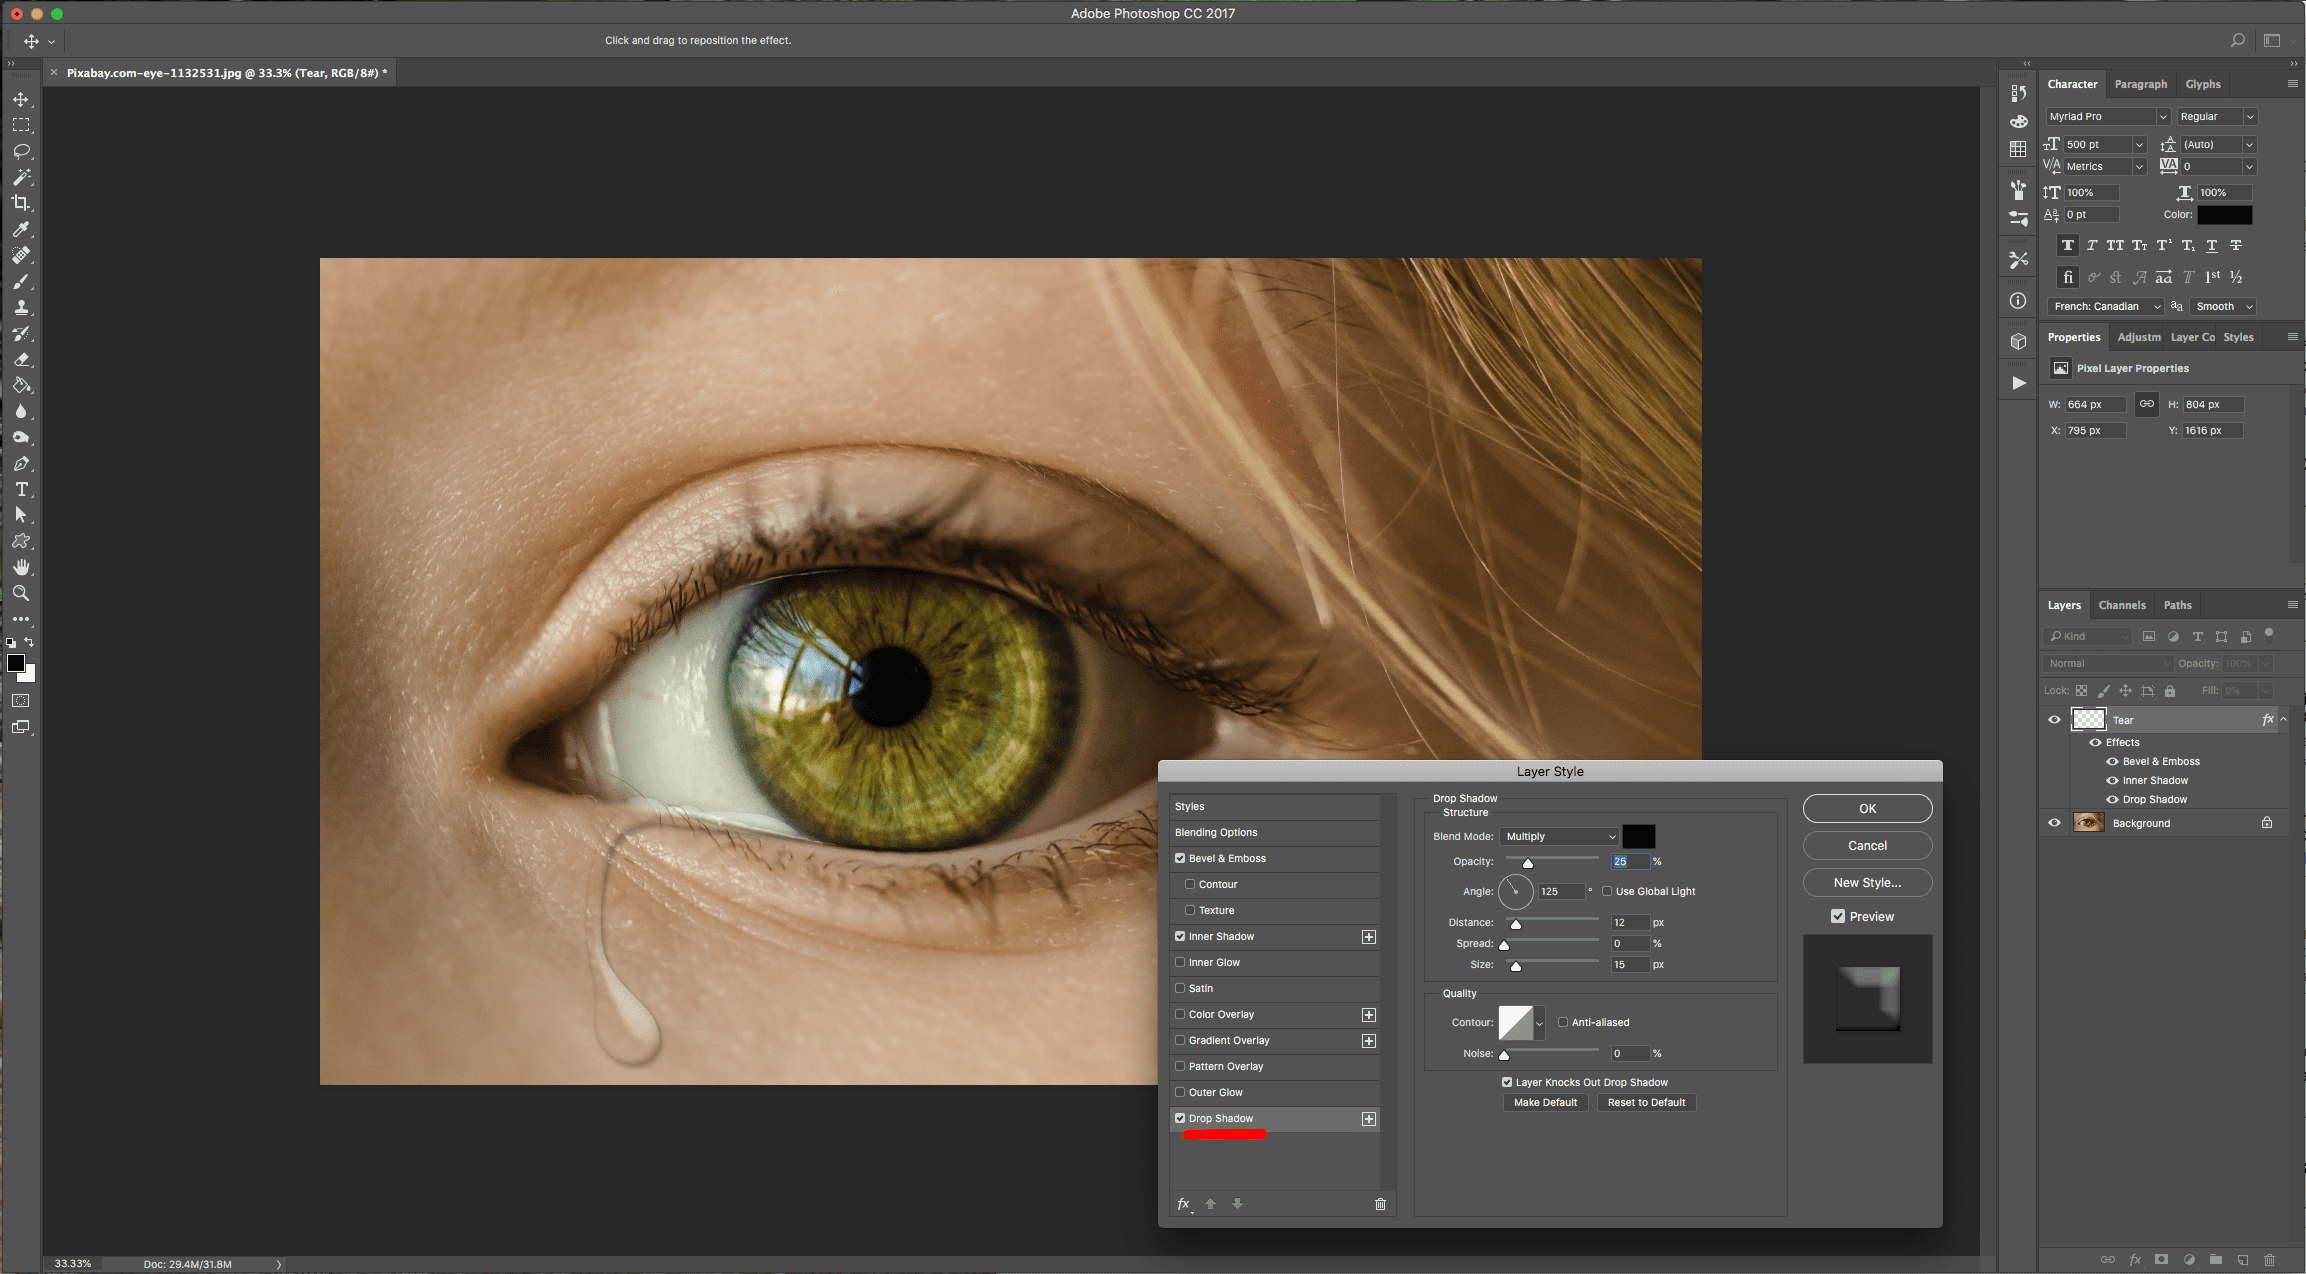
Step 4: Fix tears, damages, dusts, and scratches
If the image you are working on has missing fragments or tears, use the “Lasso” option from the sidebar to duplicate any part of the image. Users wanting to know how to enhance old photos go for Photoshop as it also provides the option to remove dust and scratches. To do this, click on the “Menu”, go to “Filter”, and then “Noise” to choose the “Dust and Scratches” option.
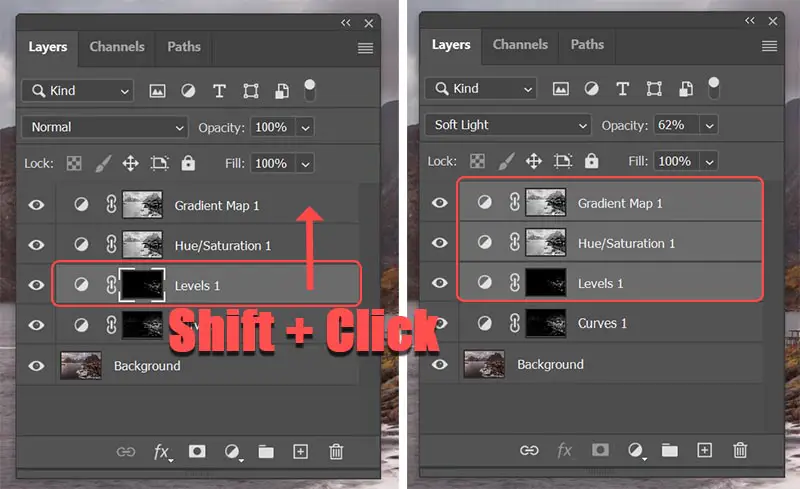
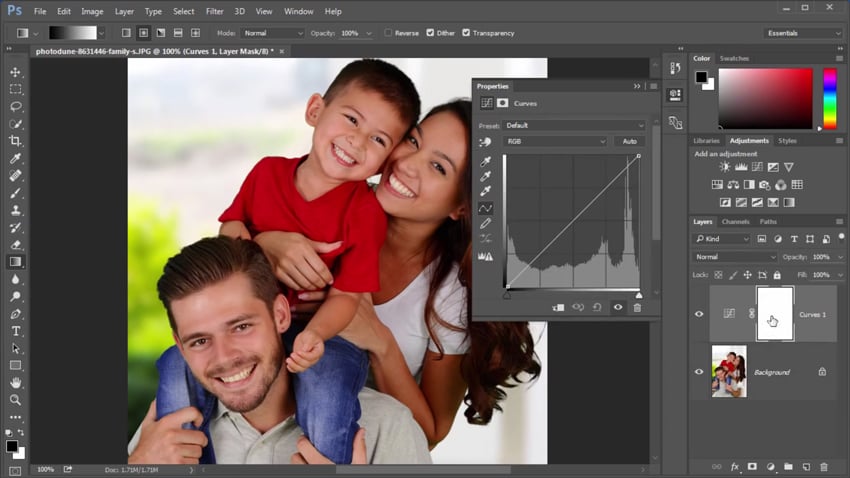
Step 5: Make adjustments
Hopefully, at this stage, you will be satisfied with the enhancement of the image. However, depending on the condition of the photo, you may need to make further adjustments. Photoshop provides various options that can automatically adjust the tone, contrast, color, and overall vibrancy of the image. Thus, make use of the spot-correct tools provided, such as the “Clone Stamp”, “Patch Tool”, and “Spot Healing Brush” options. Additionally, use the “Photo Filter” option to apply color correction on the image.
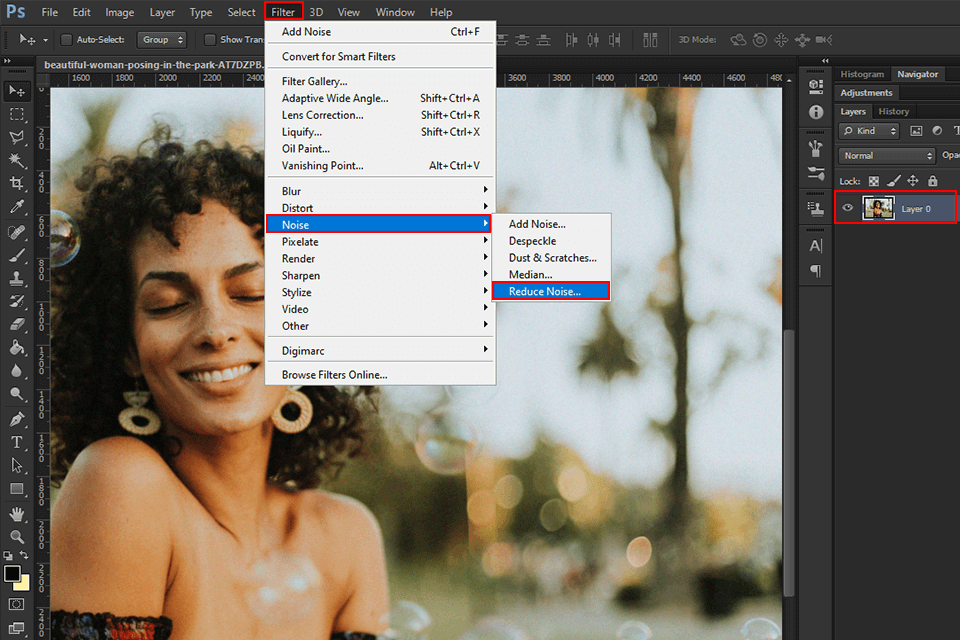
Step 6: Reduce noise by applying a filter
You can use the “Reduce Noise” option from the “Filter” section to eliminate speckles and noise. Reduce filtering if the image has fewer specks, and opt for filtering at more strength if the image is too grainy.
Step 7: Save the image
For the final step, you need to create a new layer from the one you were working on. To save all the changes you have made, lock the previous layer. If necessary, adjust brightness and contrast on the new layer created. Now, to save the restored and enhanced image, select “File” from the taskbar and click on “Save As”. Use the “Format” menu to choose your preferred file format, specify the location and filename, and then click on the “Save” option to finish.
To Conclude
There you go; these were some simple steps on how to enhance old photos using the helpful and reliable Adobe Photoshop. So, what are you waiting for? Use what you have learned here to enhance your precious old photo today!